


![]()
CONNECTION AND INSTALLATION
As with most power boxes, installation of FASTPOWER Powerbox is very easy. Using the instructions, it can be connected in a few minutes without risk of error by virtually
everyone (even people who are not completely tech-savvy). All FASTPOWER modules are equipped with electrical
circuit to connect an optional remote control which makes it possible to activate and deactivate the powerbox on the move. Fuel rail connectors can not be switched and installed incorrectly as they physically fit in just one possible position.

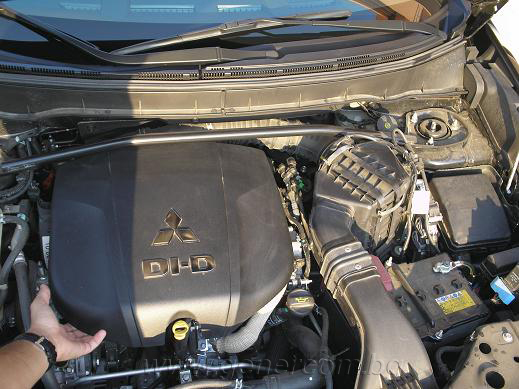
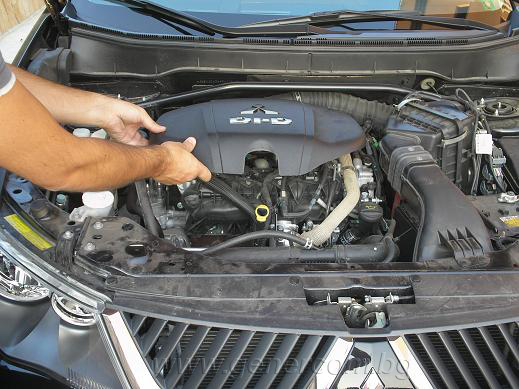
INSTALLATION on a Mitsubishi Outlander 2.2Di-D 156 hp
(1)(1).jpg)
Remove the black plastic cover (with most cars you simply pull the cover up, if it's attached to the engine with bolts, please remove them first)
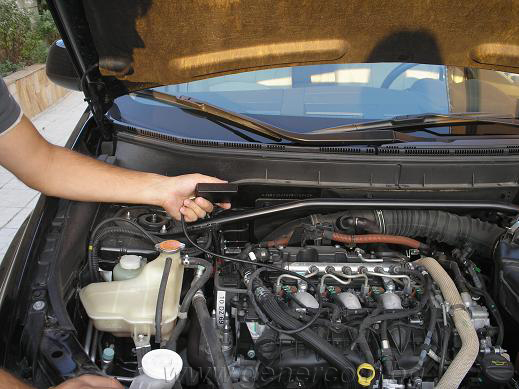
Find the high pressure fuel rail(horizontal pipe with a diameter of 1 to 2.5 cm) and grab
the connector(circled in red in the picture). Please do note that the needed connector has 3 wires coming out of it.
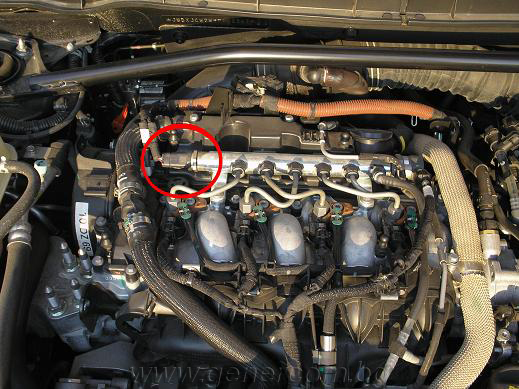
Pull out the connector.

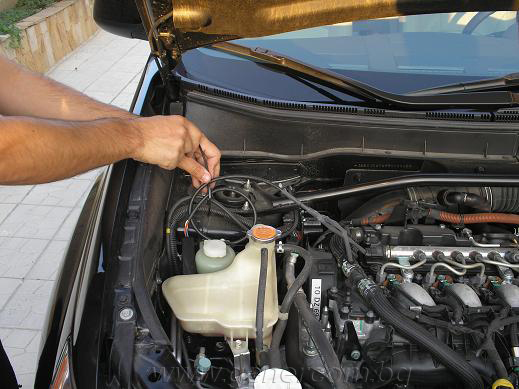
Attach the connector to the female socket of the Fastpower module.
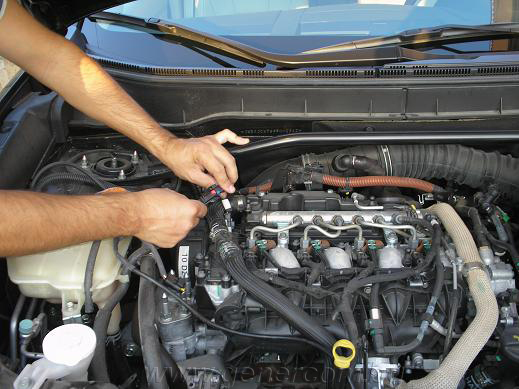
Insert the connector in the free FASTPOWER module slot of the common rail.
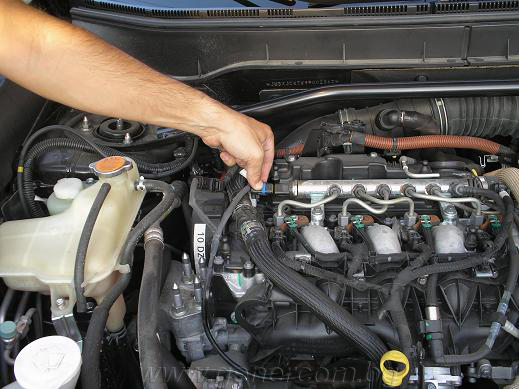
Pull cable so that it is not in contact with moving elements (belts, pulleys, etc..).
Tie the excess wire in a circle permanently attached to the unit in the engine compartment of your choice so that
no excessive vibration is transmitted to the module and attach the plastic housing of the powerbox to a stationary engine component by the double adhesive tape on the back of the box.
Put back the plastic cover.
Start the engine and test drive to make sure that engine power and torque are as expected.